The Expert's Guide to Monstera Propagation
Monstera deliciosa, often referred to as the "Swiss Cheese Plant" due to its distinctive leaf patterns, is a beloved and trendy houseplant that has taken the world of indoor gardening by storm. With its large, lush leaves and easy-going nature, it's no wonder why Monstera has become a favorite among plant enthusiasts. But did you know that you can multiply your Monstera collection through propagation? In this expert's guide, we'll delve into the fascinating world of Monstera propagation, offering you step-by-step instructions, tips, and insights to ensure your success.
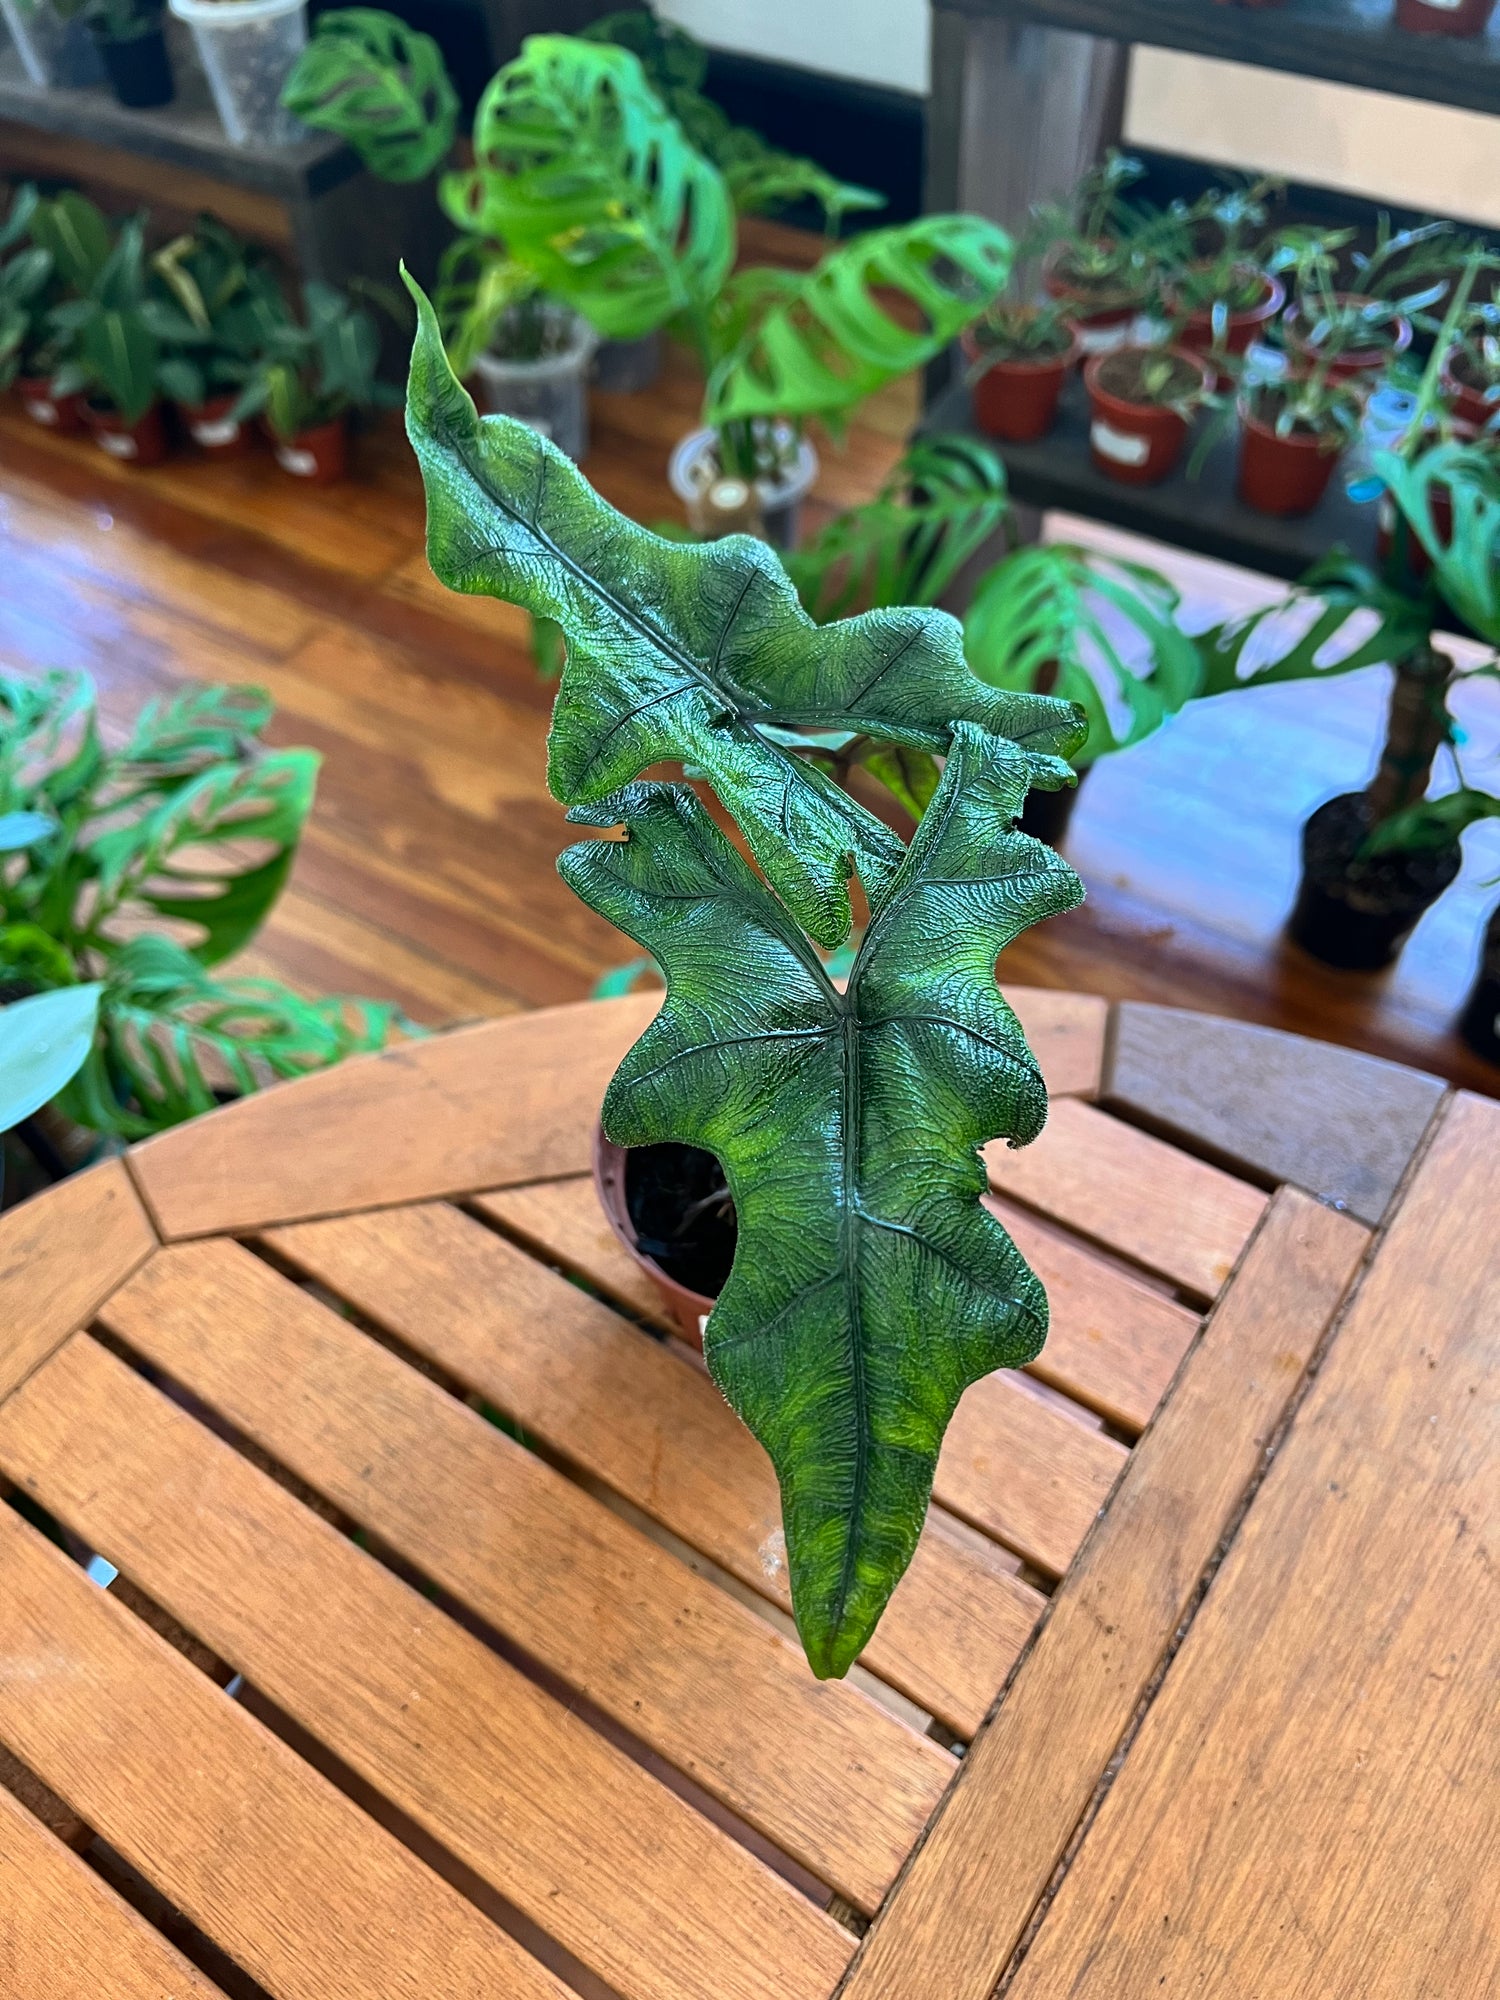
Check out our Monstera Collection
Understanding Monstera Anatomy
Before we dive into propagation techniques, it's essential to understand the basic anatomy of your Monstera plant. Monstera plants have long, vine-like stems with distinctive fenestrated (holey) leaves. These leaves are the star of the show when it comes to propagation. Monstera propagation typically involves taking a cutting from the mother plant and encouraging it to develop roots, thus creating a new plant.
Selecting the Right Tools and Materials
To start your Monstera propagation journey, gather the following materials:
1. Healthy Monstera Plant: Ensure your parent plant is healthy and free from pests or diseases. A robust mother plant will produce strong and vibrant offspring.
2. Sharp, Clean Pruning Shears: Use sterilized pruning shears or a sharp knife to make clean cuts, reducing the risk of infection for both the parent and propagated plant.
3. A Suitable Container: You'll need a container for propagating your cuttings. Options include glass jars, water-filled vases, or small pots filled with a well-draining potting mix.
4. Rooting Hormone (Optional): While not necessary, a rooting hormone can promote faster root development.
The Propagation Process
Now that you have your materials ready, let's walk through the steps of Monstera propagation:
Step 1: Select a Healthy Stem
Choose a mature stem with at least one node. Nodes are the small, bump-like structures on the stem where leaves, roots, and new growth emerge. It's from these nodes that roots will form.
Step 2: Take a Clean Cutting
Using your sterilized pruning shears or knife, make a clean cut just below a node. The ideal cutting is around 6-12 inches long, with a few leaves attached. The more leaves and nodes, the better the chances of successful propagation.
Step 3: Allow the Cutting to Callus
Place the cutting in a dry, warm location for a few hours or overnight to allow the cut end to callus. This helps prevent rotting when the cutting is placed in water or soil.
Step 4: Choose Your Propagation Method
There are two primary methods for propagating Monstera: water propagation and soil propagation. Let's explore both:
Water Propagation:
1. Place the callused cutting in a container filled with room-temperature water, submerging the node but keeping the leaves above the water surface.
2. Change the water every 1-2 weeks to prevent stagnation and mold.
3. Keep the container in bright, indirect light, away from direct sunlight.
4. In a few weeks to a few months, you'll notice roots developing. Once the roots are a few inches long, you can transplant your cutting into soil.
Soil Propagation:
1. Prepare a small pot with well-draining potting mix. A mix with perlite or vermiculite works well.
2. Insert the callused cutting into the soil, making sure the node is buried while the leaves remain above the soil.
3. Water the cutting lightly and cover it with a plastic bag or a clear plastic dome to create a mini-greenhouse effect. This helps maintain high humidity.
4. Place the pot in indirect light, and after several weeks, you should see signs of new growth and root development.
Step 5: Care for Your Propagated Monstera
Whether you've chosen water or soil propagation, once your Monstera cutting has developed a healthy root system and new leaves, it's time to care for it as you would a mature Monstera plant:
- Light: Provide bright, indirect sunlight to encourage healthy growth. Avoid direct sun, which can scorch the leaves.
- Watering: Water your young Monstera when the top inch of soil feels dry. Be mindful not to overwater, as Monstera prefers slightly moist but well-draining soil.
- Fertilizing: Feed your propagated Monstera with a balanced liquid fertilizer diluted to half strength during the growing season (spring and summer).
- Repotting: As your Monstera grows, you may need to repot it into a larger container. Repot in the spring when the plant has outgrown its current pot.
Troubleshooting Common Issues
Propagation can sometimes be challenging, and you may encounter issues such as slow root development, yellowing leaves, or wilting. Here are some common problems and their solutions:
- Slow Root Development: Ensure the cutting is in a warm, humid environment with adequate light. If using water propagation, make sure the water is clean and changed regularly.
- Yellowing Leaves: Yellowing leaves can be a sign of overwatering. Allow the soil to dry slightly between waterings.
- Wilting: Wilting can indicate the cutting is not getting enough humidity. Cover it with a plastic bag or dome to increase humidity.
Check out our Monstera Collection
In Conclusion
Monstera propagation is a rewarding journey for any plant enthusiast. Watching your cuttings transform into thriving plants is both satisfying and educational. Remember that patience is key; it may take some time for your propagated Monstera to establish itself. With the right care and attention, you'll soon have a collection of beautiful, healthy Monstera plants to enjoy in your home.
So, why not give Monstera propagation a try? It's a wonderful way to expand your green family and share the joy of growing these magnificent plants with friends and fellow plant enthusiasts. Happy propagating!