The Enchanting World of Hoyas: Tips for Propagation, Blooming, and Care

Hoyas, often referred to as "wax plants" or "wax vines," are a diverse and captivating group of houseplants that have been cherished by plant enthusiasts for generations. Known for their unique, waxy leaves and clusters of star-shaped flowers, hoyas make for delightful additions to any indoor garden. In this blog, we will delve into the world of hoyas, covering essential topics such as propagation, blooming, ideal conditions, and fertilization techniques to help you cultivate healthy and thriving hoyas.
Understanding Hoyas
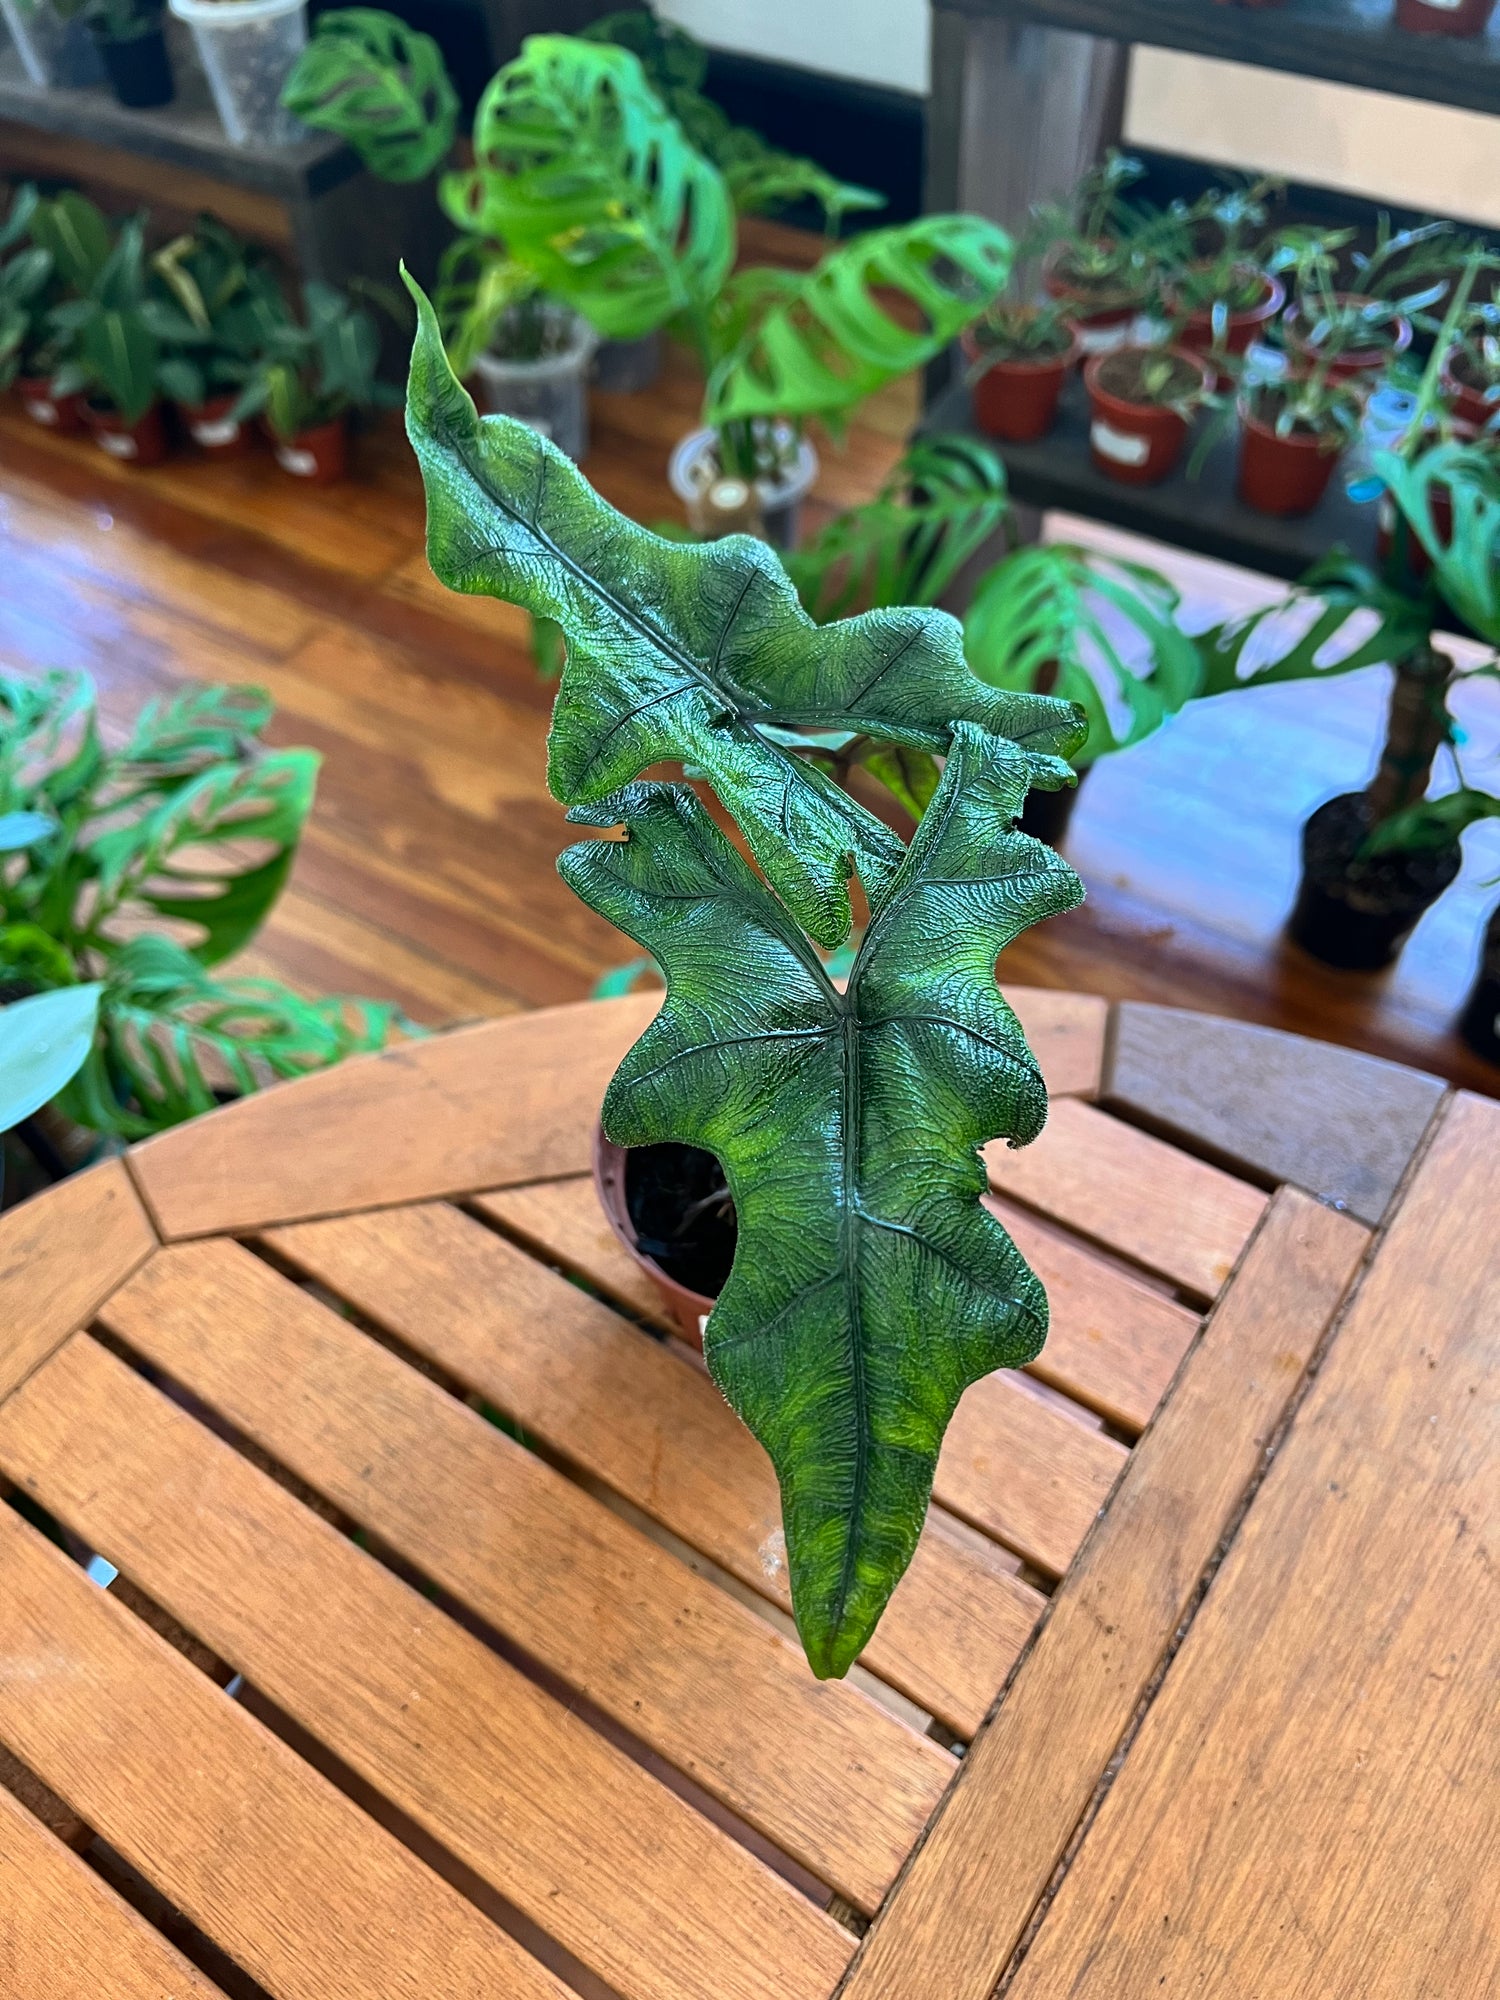
Hoyas belong to the Apocynaceae family and originate from Southeast Asia, Australia, and the Pacific. With over 200 known species, hoyas vary in leaf shape, size, and coloration, making them a diverse and fascinating plant group. However, the most striking feature of hoyas is their exquisite flowers. These blooms often appear in small, spherical clusters, showcasing a range of colors, from white and pink to red and maroon.
Propagation: The Art of Multiplying Hoyas
One of the joys of owning hoyas is the ability to propagate them, allowing you to share these beautiful plants with friends and fellow enthusiasts. Here are some tips and tricks for successful hoya propagation:
1. Stem Cuttings: The most common method of propagating hoyas is through stem cuttings. Select a healthy, mature vine, and cut it into sections, ensuring each cutting has at least one node (the small bump on the stem from which leaves and roots grow). Allow the cut ends to dry for a day or two to prevent rot, then plant them in a well-draining potting mix.
2. Water Propagation: You can also propagate hoyas in water. Place your cuttings in a jar or vase with enough water to submerge the nodes. Change the water every few days to prevent mold and bacterial growth. Once roots develop, transplant the cuttings into soil.
3. Leaf Cuttings: While less common, some hoyas can be propagated from individual leaves. Cut a healthy leaf into sections, making sure each piece contains a vein. Plant these sections in a soil mix and keep them humid to encourage rooting.
Best Practices for Propagation
- Timing: The best time to propagate hoyas is during the active growing season, typically in spring or early summer.
- Light: Provide bright, indirect light to encourage root development, but avoid direct sunlight, which can scorch young plants.
- Humidity: Maintain a higher humidity level around your propagating hoyas. You can achieve this by covering them with a plastic bag or using a humidity tray.
Fluval and PON are two popular propagation mediums that can be used to enhance the success of hoya propagation. These substrates can help maintain moisture levels, provide support to developing roots, and improve overall propagation outcomes. Here's how to use Fluval and PON effectively for hoya propagation:
Using Fluval for Hoya Propagation
Fluval is a porous, clay-like substrate that retains moisture well while allowing for good aeration. It is an excellent choice for hoya propagation, especially for root development. Here's how to use Fluval effectively:
Materials Needed:
- Fluval: Purchase high-quality Fluval, which is often used in aquarium filtration systems and is readily available in pet stores or online.
- Clean Containers: Use clean, well-draining containers like plastic pots or trays with drainage holes.
- Hoya Cuttings: Ensure you have healthy hoya cuttings with at least one node.
- Water: You'll need water to moisten the Fluval.
Steps:
-
Prepare the Containers: Fill your containers with a layer of Fluval. The depth of the layer should be sufficient to support the hoya cuttings and allow for root growth. Aim for a layer about 2-3 inches deep.
-
Moisten the Fluval: Before planting your hoya cuttings, moisten the Fluval thoroughly. Add water gradually until it's evenly damp but not waterlogged. Ensure that excess water can drain from the containers.
-
Plant the Cuttings: Insert the hoya cuttings into the Fluval, making sure the nodes are in contact with the substrate. You can plant multiple cuttings in the same container, but provide enough space between them for air circulation.
-
Maintain Humidity: Cover the containers with clear plastic bags or plastic wrap to create a mini-greenhouse effect. This helps maintain high humidity around the cuttings, which is crucial for root development.
-
Light and Temperature: Place the containers in a location with bright, indirect light. Maintain a consistent temperature between 70°F to 80°F (21°C to 27°C) for optimal root growth.
-
Monitor and Care: Check the moisture level regularly to ensure the Fluval remains damp but not soggy. Mist the cuttings if needed. After several weeks, you should start seeing root development.
-
Transplanting: Once your hoya cuttings have developed a healthy root system (usually after a few months), you can transplant them into a well-draining potting mix to continue their growth.
Using PON for Hoya Propagation
PON is another substrate that is lightweight, porous, and excellent for propagation. Here's how to use PON effectively for hoya propagation:
Materials Needed:
- PON: Purchase high-quality PON, which is available at gardening supply stores or online.
- Containers: Use clean, well-draining containers with drainage holes.
- Hoya Cuttings: Ensure you have healthy hoya cuttings with at least one node.
- Water: You'll need water to moisten the PON.
Steps:
-
Prepare the Containers: Fill your containers with PON to create a layer that's deep enough to support the hoya cuttings and allow for root growth, similar to the Fluval method.
-
Moisten the PON: Before planting, moisten the PON thoroughly but avoid waterlogging it. Ensure that excess water can drain from the containers.
-
Plant the Cuttings: Insert the hoya cuttings into the PON, making sure the nodes are in contact with the substrate. Like with Fluval, you can plant multiple cuttings in the same container, with adequate spacing for air circulation.
-
Humidity and Light: Cover the containers with plastic bags or plastic wrap to maintain high humidity. Place them in a location with bright, indirect light, ensuring consistent temperatures between 70°F to 80°F (21°C to 27°C).
-
Monitor and Maintain: Regularly check the moisture level to keep the PON damp but not waterlogged. Mist the cuttings if needed. After some time, you'll notice root development.
-
Transplanting: Once your hoya cuttings have well-established roots, transplant them into a well-draining potting mix to continue their growth.
Both Fluval and PON can be highly effective for hoya propagation, but remember that the key to success lies in maintaining proper humidity, adequate light, and consistent care throughout the propagation process. Patience and attention to detail are your best allies in nurturing healthy hoya plants from cuttings.
How to Make Your Hoyas Bloom
Seeing your hoya burst into a symphony of blooms is a rewarding experience. Here's how to encourage hoya flowering:
1. Adequate Light: Hoyas thrive in bright, indirect light. Provide them with plenty of natural light, but shield them from harsh afternoon sun.
2. Temperature: Hoyas appreciate temperature fluctuations between day and night, simulating their natural habitat. A drop in nighttime temperature can trigger flowering.
3. Pruning: Prune your hoya to encourage branching and more flower buds. Remove spent flowers to redirect energy towards new blooms.
4. Patience: Some hoyas are slow bloomers and may take several years to produce their first flowers. Be patient and consistent in your care.
Perfect Conditions for Hoyas
Creating the ideal environment for your hoyas is essential for their overall health and well-being. Here are some key considerations:
1. Potting Mix: Use a well-draining potting mix that allows water to flow freely but retains some moisture. A mix of potting soil, perlite, and orchid bark works well.
2. Watering: Allow the top inch or two of the soil to dry out before watering. Water thoroughly and empty the saucer to prevent root rot.
3. Humidity: Maintain moderate humidity, especially during the growing season. You can use a humidifier or place a tray of water near your hoyas to increase humidity levels.
4. Fertilization: Hoyas don't require frequent feeding. Fertilize during the growing season (spring and summer) with a balanced, diluted liquid fertilizer every 4-6 weeks.
Conclusion
Hoyas are enchanting plants that bring beauty and charm to any indoor space. With the right care and attention to propagation, blooming, and general care practices, you can enjoy the lush foliage and stunning blooms of hoyas for years to come. Remember, each hoya variety has its unique requirements, so get to know your specific hoya to provide it with the best care possible. Happy hoya gardening!
Check out our very special Hoya Collection
