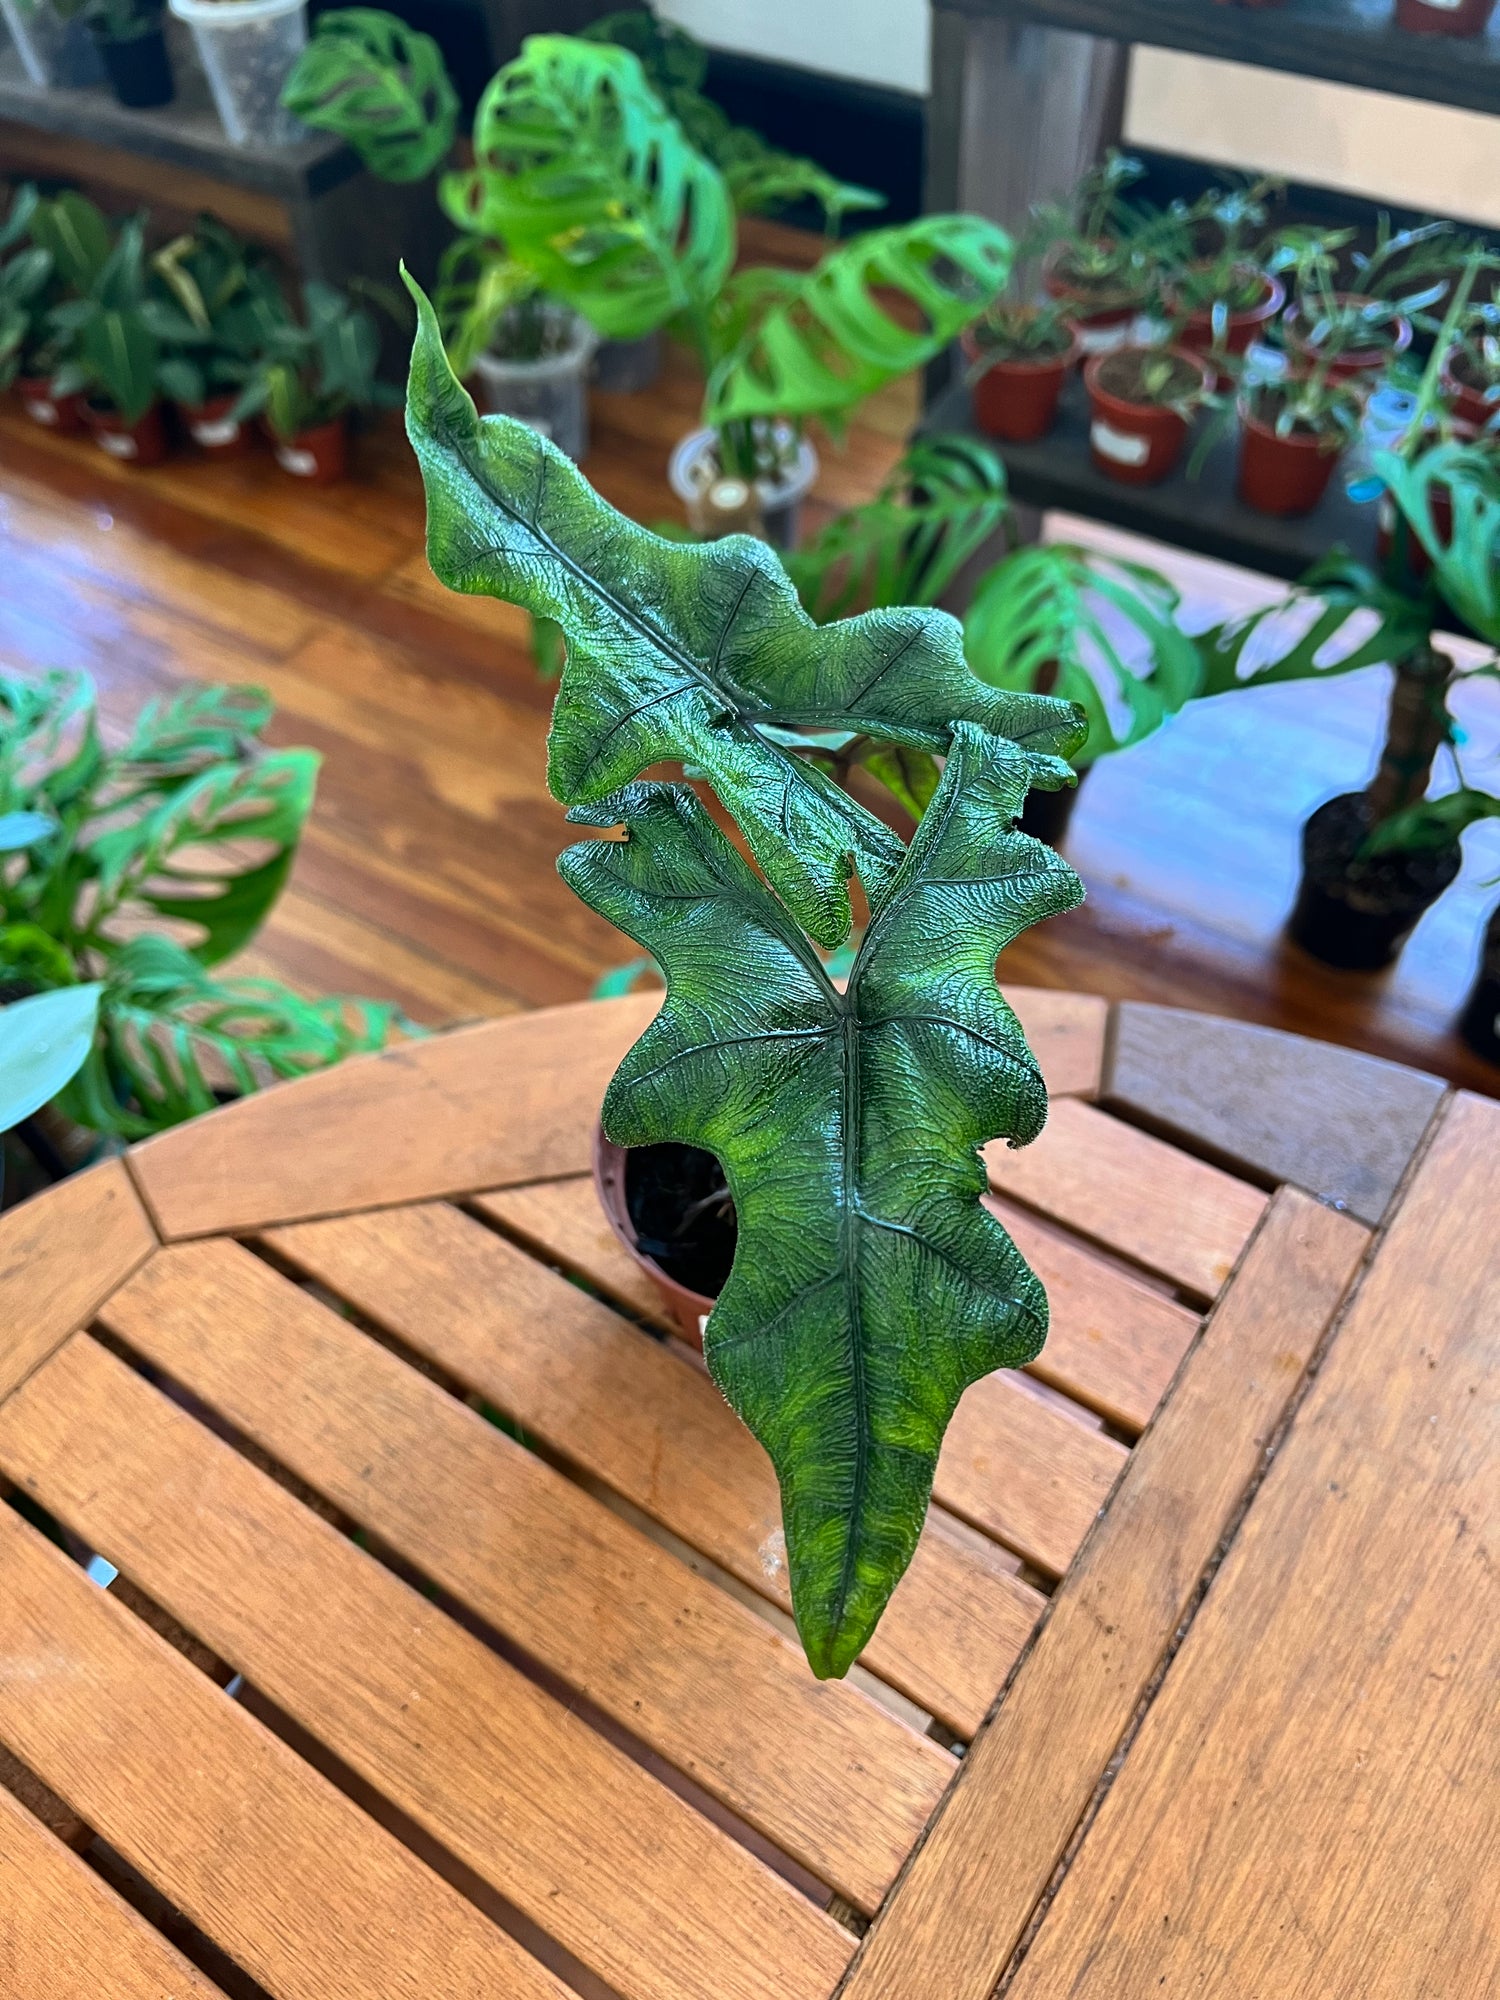
Hoyas, also known as wax plants, are popular houseplants renowned for their beautiful, waxy leaves and fragrant, star-shaped flowers. One of the most satisfying aspects of hoya care is propagating them from cuttings. Growing a hoya cutting to maturity can be a rewarding and enjoyable experience. In this guide, we will walk you through the steps to ensure your hoya cutting thrives and matures into a healthy, vibrant plant.

Step 1: Gather Your Materials
Before you begin, you'll need to gather the necessary materials:
- Hoya Cutting: Start with a healthy hoya cutting that is at least 4-6 inches long and includes a node, where roots and new growth will emerge.
- A Small Pot: Choose a small pot with good drainage, and consider using a terra cotta pot, which helps prevent overwatering.
- Well-Draining Potting Mix: Use a well-draining mix specifically designed for succulents or cacti, or create your own mix by combining potting soil, perlite, and orchid bark.
- Clean, Sharp Scissors or Pruners: These are essential for taking precise and clean cuttings.
Step 2: Prepare the Cutting
- Choose a healthy stem to take your cutting from, ensuring it has at least one node, which is the area where new roots and leaves will develop.
- Use sharp scissors or pruners to cut the stem just below a leaf node, leaving you with a 4-6 inch cutting.
- Allow the cutting to air dry for a day or two. This helps prevent rotting and promotes faster root development.
Step 3: Potting the Cutting
- Fill your small pot with the well-draining potting mix, leaving about an inch of space at the top.
- Create a hole in the center of the potting mix using a pencil or your finger.
- Insert the hoya cutting into the hole, making sure the node is covered and the cutting is secure.
- Water the cutting lightly, just enough to moisten the soil. Overwatering can lead to rot.
Step 4: Providing the Right Environment
Hoyas thrive in specific environmental conditions, so it's essential to create an ideal setting for your cutting to mature:
- Light: Place your cutting in bright, indirect light. Avoid direct sunlight, which can scorch the leaves.
- Temperature: Maintain a consistent temperature between 60-80°F (15-27°C). Avoid extreme temperature fluctuations.
- Humidity: Hoyas enjoy moderate humidity levels. If your home is too dry, consider misting the cutting or using a humidity tray.
- Air Circulation: Adequate air circulation prevents fungal issues and helps the cutting grow.
Step 5: Watering and Maintenance
- Watering: Water the cutting sparingly, allowing the top inch of the soil to dry out before the next watering. Overwatering is a common mistake when growing hoyas, so err on the side of caution.
- Fertilizing: Feed your hoya cutting with a balanced, diluted liquid fertilizer once a month during the growing season (spring and summer).
- Pruning: As your hoya cutting grows and matures, you can pinch or prune it to encourage bushier growth and maintain its shape.
- Support: Hoyas are vining plants, so provide a trellis or stake for support as the cutting grows.
Step 6: Patience and Time
Growing a hoya cutting to maturity can take time, sometimes several months to a year. Be patient and give your cutting the care it needs to thrive. Once the hoya has established itself and is growing vigorously, you can repot it into a larger container to accommodate its mature size.
Conclusion
Growing a hoya cutting to maturity is a satisfying journey that rewards you with a beautiful and resilient houseplant. With the right care, your hoya cutting will develop into a mature plant, gracing your home with its charming foliage and delightful flowers. Enjoy the process, and watch your hoya flourish into a magnificent specimen in your indoor garden.

